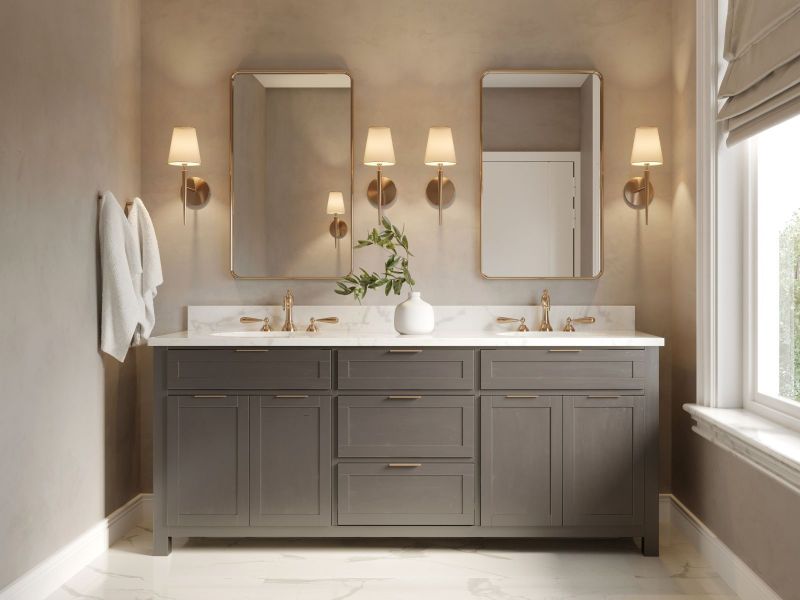
Vanities are an essential component of any bathroom or dressing area, providing both functionality and style. Over time, however, these once-pristine pieces can start to show signs of wear and tear. Fortunately, there's a cost-effective solution to revitalize your vanities and bring them back to their former glory – refinishing. In this ultimate guide to vanities refinishing, we'll explore the process step by step, from preparation to finishing touches.
Step 1: Assess the Condition
Before diving into the refinishing process, it's crucial to evaluate the current condition of your vanity. Look for any scratches, dents, or peeling finishes. Take note of areas that need special attention or repairs before proceeding. This assessment will help you plan the refinishing process accordingly.
Step 2: Gather the Necessary Tools and Materials
To successfully refinish your vanity, you'll need a few tools and materials. Here's a checklist to get you started:
Safety goggles and gloves: Protect yourself during the refinishing process.
Sandpaper: Choose varying grits, such as 120, 220, and 400, for different stages of sanding.
Wood filler: Use this to fill in any cracks, dents, or imperfections in the vanity's surface.
Screwdriver: Remove any hardware, such as knobs or handles, before refinishing.
Primer: Choose a primer suitable for your vanity's material, whether it's wood, laminate, or metal.
Paint or stain: Select a paint color or stain that complements your bathroom's aesthetic.
Paintbrushes and rollers: Use these tools to apply the primer, paint, or stain evenly.
Polyurethane or sealant: Apply a protective coat to ensure the longevity of your refinishing efforts.
Drop cloths or plastic sheets: Protect the surrounding area from paint or stain spills.
Step 3: Prepare the Vanity
Start by removing any hardware from the vanity, such as drawer pulls or hinges. This will make the refinishing process smoother and prevent accidental damage. Next, clean the vanity thoroughly to remove dirt, grime, and any remaining residue. Use mild soap and water or a suitable cleaning agent, depending on the material of your vanity. Once cleaned, let the vanity dry completely before moving on to the next step.
Step 4: Sanding and Repairing
Sanding is a crucial step in refinishing vanities as it prepares the surface for primer and paint or stain. Begin with a medium-grit sandpaper (around 120) to remove the existing finish and create a smooth surface. Work in the direction of the wood grain or in even strokes for other materials. Once you've completed the initial sanding, switch to a finer-grit sandpaper (around 220) to further smoothen the surface. If there are any cracks, dents, or imperfections, use wood filler to fill them in and sand again once dry.
Step 5: Apply Primer
Applying a primer is essential to ensure proper adhesion of the paint or stain and enhance the longevity of the finish. Choose a primer suitable for your vanity's material and apply it evenly using a paintbrush or roller. Allow the primer to dry completely before proceeding to the next step.
Step 6: Painting or Staining
Now comes the fun part – adding color and giving your vanity a fresh new look. Whether you choose paint or stain depends on your personal preference and the desired outcome. If using paint, apply thin, even coats, allowing sufficient drying time between each coat. For staining, use a brush or cloth to apply the stain in the direction of the grain, wiping off any excess as you go. Apply additional coats until you achieve the desired color and depth.
Step 7: Protect with a Top Coat
To protect your newly refinished vanity and make it more resistant to moisture and daily use, apply a top coat of polyurethane or a suitable sealant. This final layer will provide a glossy or matte finish, depending on your preference, while ensuring durability and easy maintenance. Follow the manufacturer's instructions for application and drying time.
Step 8: Reassemble and Enjoy
Once the top coat is dry, reattach the hardware to your vanity and make any necessary adjustments. Take a step back and admire your beautifully refinished vanity. It's now ready to enhance your bathroom's aesthetic for years to come.
Refinishing your vanities is an excellent way to breathe new life into these essential pieces of furniture. By following this ultimate guide, you'll be able to transform your worn-out vanities into stunning focal points. So, roll up your sleeves, gather your tools, and embark on the journey of vanities refinishing.
 Facebook
 Google