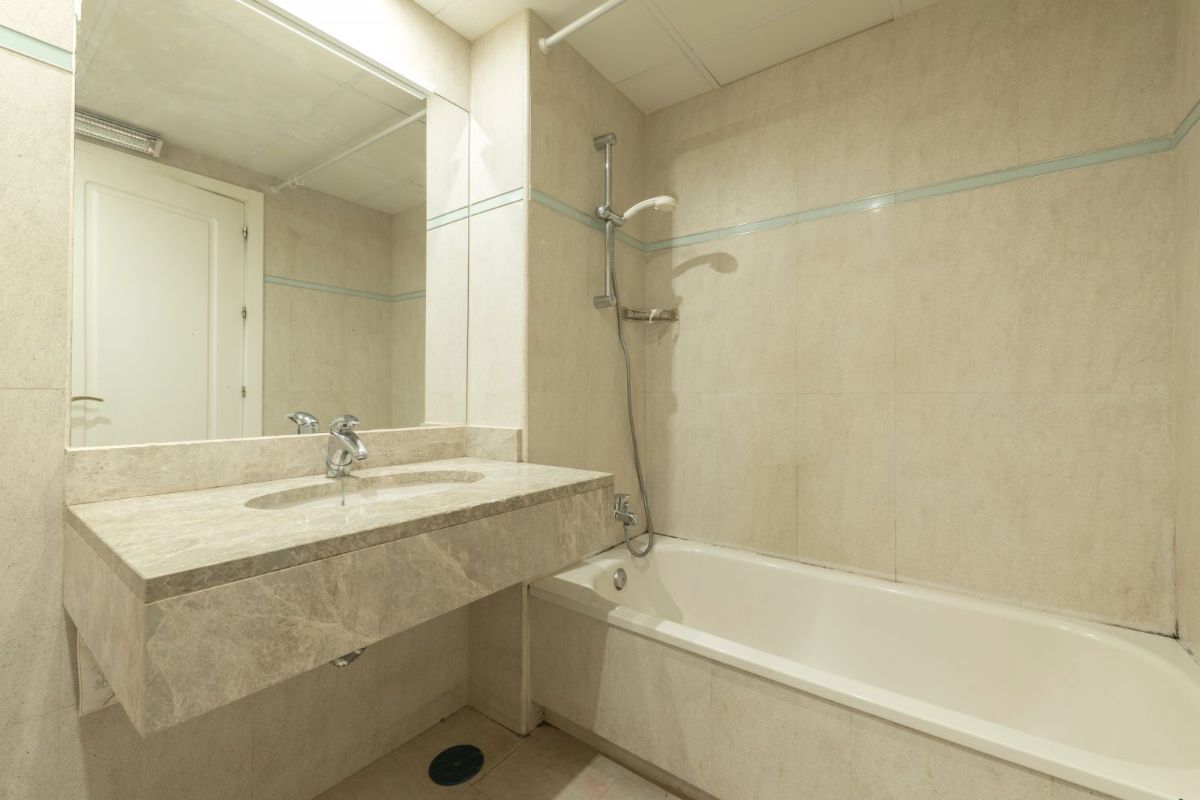
A bathroom is more than just a functional space; it's a sanctuary where you begin and end your day. However, over time, wear and tear can take its toll, leaving your once pristine bathroom looking tired and outdated. Fortunately, bathroom resurfacing offers a cost-effective solution to breathe new life into your space without the need for a full renovation. In this comprehensive guide, we'll explore everything you need to know about bathroom resurfacing, from its benefits and process to maintenance tips and cost considerations.
What is Bathroom Resurfacing?
Bathroom resurfacing, also known as bathroom refinishing or reglazing, is the process of revitalizing the surfaces of your bathroom fixtures, such as bathtubs, sinks, tiles, and countertops, without the need for replacement. It involves cleaning, repairing, and applying a new surface coating to restore the appearance and functionality of these fixtures, giving them a fresh, like-new finish.
Benefits of Bathroom Resurfacing:
- Cost-Effective: Bathroom resurfacing is significantly more affordable than full replacements, allowing you to achieve a brand-new look for a fraction of the cost.
- Time-Saving: Unlike traditional renovations, which can take weeks to complete, resurfacing can typically be done in a matter of days, minimizing disruption to your daily routine.
- Environmentally Friendly: By opting for resurfacing instead of replacement, you reduce the amount of waste generated and contribute to sustainability efforts.
- Customization Options: Resurfacing offers a wide range of color and finish options, allowing you to customize your bathroom to suit your style preferences.
The Bathroom Resurfacing Process:
- Surface Preparation: The first step involves thorough cleaning and preparation of the surfaces to be resurfaced. This may include removing old caulk, repairing chips or cracks, and etching the surface to promote adhesion.
- Application of Primer: A specialized primer is applied to the cleaned surfaces to ensure proper bonding of the new coating.
- Coating Application: A durable, high-quality coating is sprayed or rolled onto the surfaces, creating a smooth, glossy finish.
- Curing: The newly applied coating is left to cure for a specified period, typically 24-48 hours, before it can be used.
- Final Touches: Once the coating has cured, any necessary finishing touches, such as recaulking or polishing, are completed to achieve a flawless result.
Maintenance Tips for Resurfaced Fixtures:
- Avoid Abrasive Cleaners: Use gentle, non-abrasive cleaners and avoid harsh chemicals that can damage the resurfaced surface.
- Prevent Scratches: Use soft sponges or cloths when cleaning to prevent scratches, and avoid placing sharp or abrasive objects directly on the resurfaced fixtures.
- Regular Cleaning: Keep your resurfaced fixtures clean by regularly wiping them down with a mild detergent and water solution.
- Reapply Caulk as Needed: Monitor the condition of caulking around fixtures and reapply as necessary to prevent water damage and maintain a watertight seal.
Cost Considerations:
The cost of bathroom resurfacing can vary depending on factors such as the size of the area to be resurfaced, the condition of the existing fixtures, and any additional services required, such as repairs or color customization. On average, you can expect to pay anywhere from $200 to $800 per fixture for resurfacing, making it a cost-effective alternative to replacement.
Bathroom resurfacing offers a practical and budget-friendly way to update and rejuvenate your bathroom without the hassle and expense of a full renovation. By understanding the process, benefits, and maintenance considerations outlined in this guide, you can confidently embark on your bathroom resurfacing journey, transforming your space into a fresh and inviting retreat.


 Facebook
 Google